Locations: adding and managing branches
All branches of your business live in "Settings → Locations". The "Add location" button in the location switcher at the top of the sidebar leads here too.
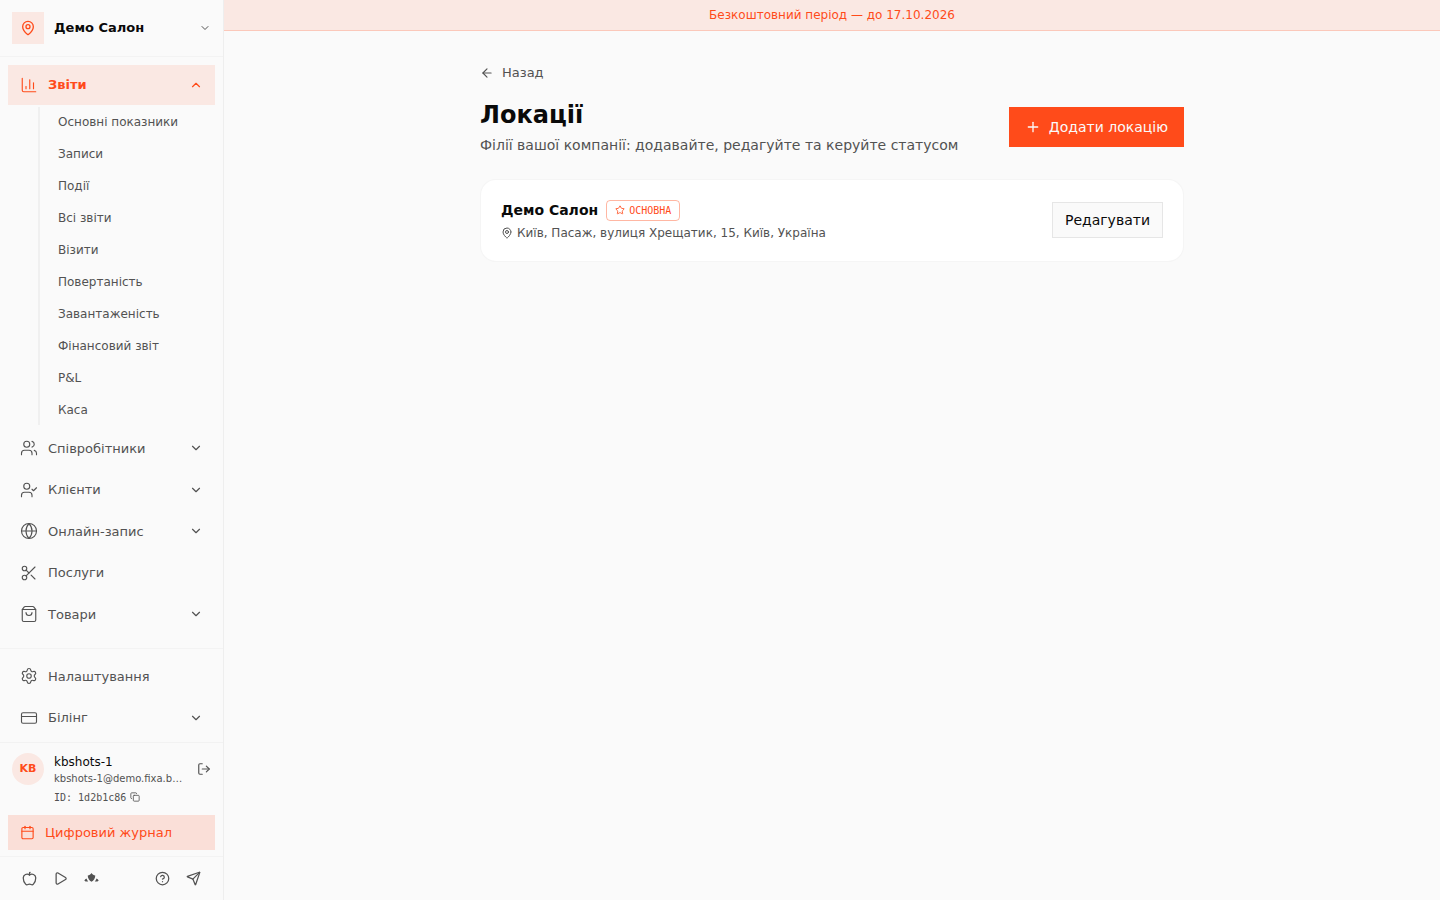
A new branch
Click "Add location" and fill in the form:
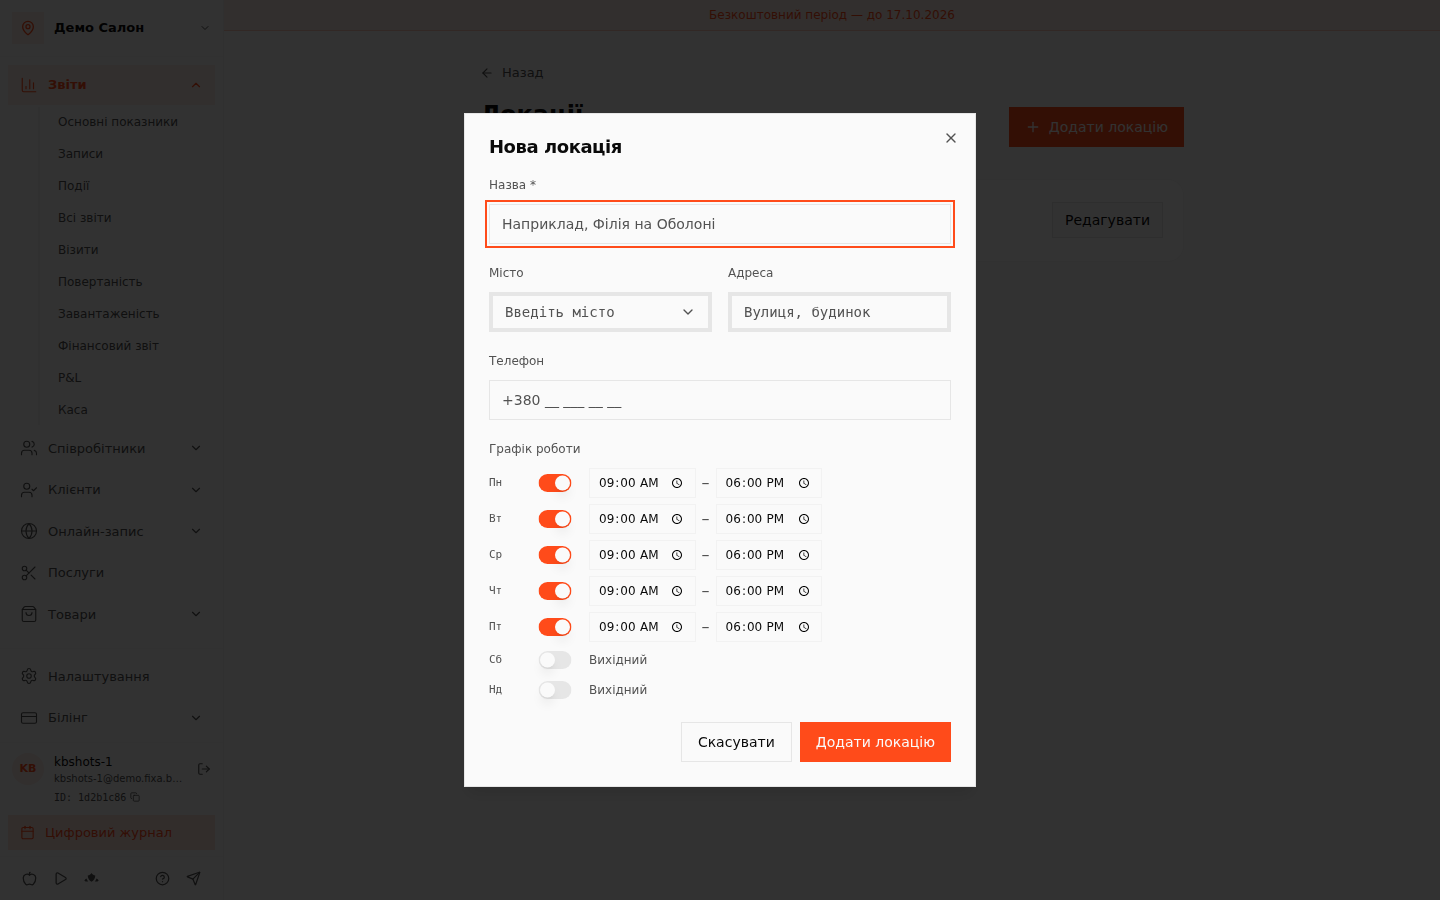
- Name — how the branch appears in lists and reports.
- City and address — with suggestions; once an address is picked, a map appears and the marker can be fine-tuned.
- Phone and working hours — days with switches and times; just turn days off for weekends.
A new branch is ready to work immediately: the system automatically creates its own cash register and warehouse, so branch finances and stock never mix.
Plan limit
The number of locations is limited by your plan. When the limit is reached, the dialog says so honestly and offers "Go to plan" — after upgrading, creating the branch becomes available.
Managing
- "Edit" — name, city, address and map at any time.
- A non-main branch can be deactivated (and reactivated): it disappears from new bookings while all its history stays.
- Contacts, hours and social links of the main location are edited on "Settings → Contacts".
The location switcher at the top of the menu filters the calendar, reports and payroll by branch, or shows "All locations" together.