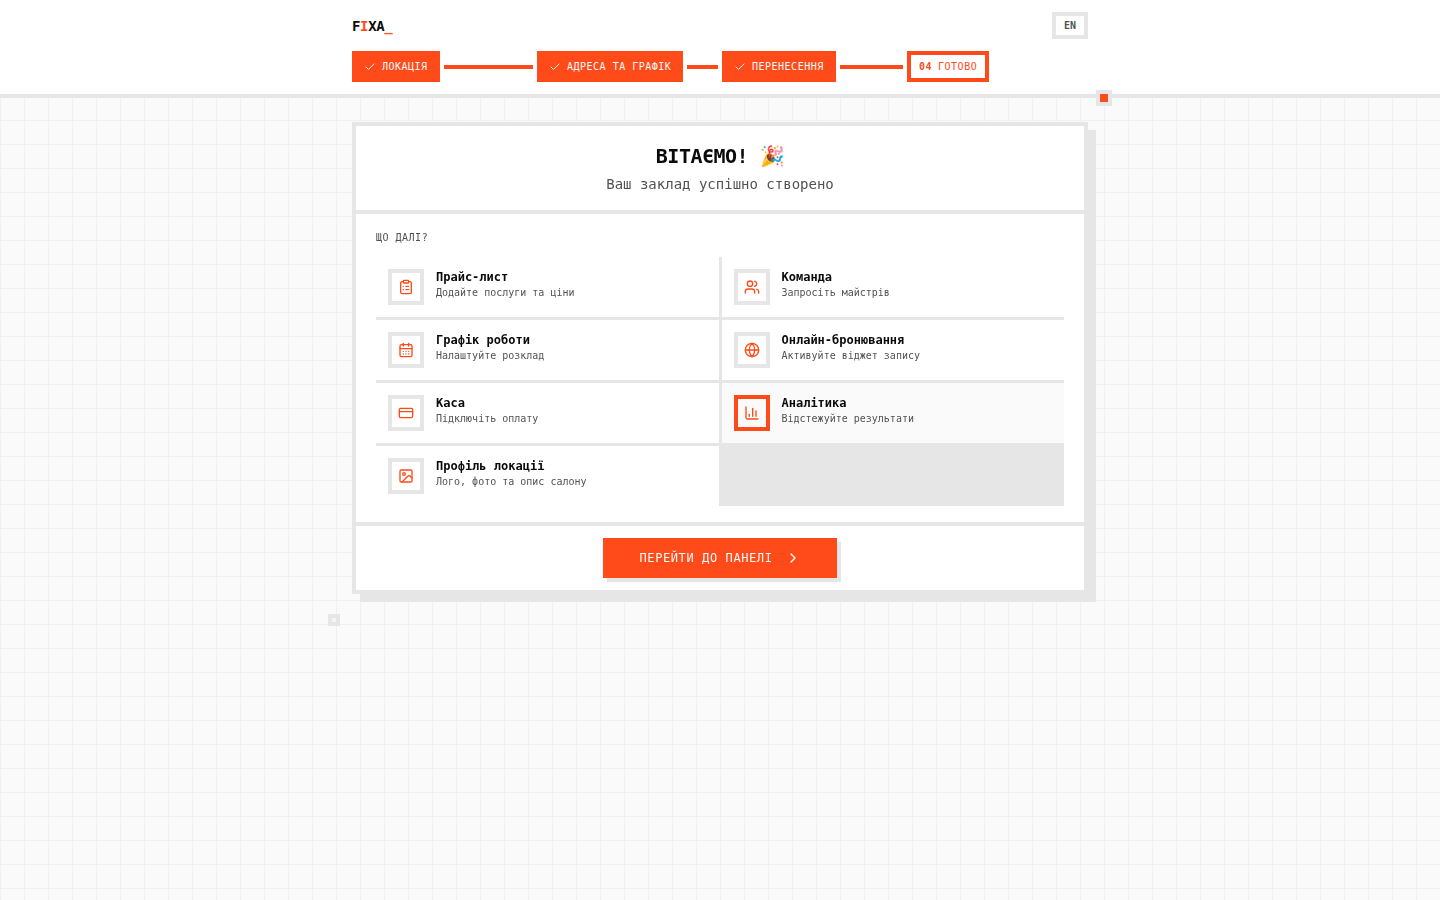
How to register your salon and take the first steps
Registration takes a few minutes. You get an owner account and a configured business ready for its first appointments.
Step 1. Create an account
- Open fixa.business and click “Спробувати безкоштовно” (Try for free) — the “Зареєструйте свій салон” (Register your salon) page opens.
- Fill in email (your account ID), phone number and password (at least 6 characters). Enter the phone in the +380 format plus 9 more digits.
- Agree to the Terms of Service and the Privacy Policy and click “Почати безкоштовно” (Start for free).
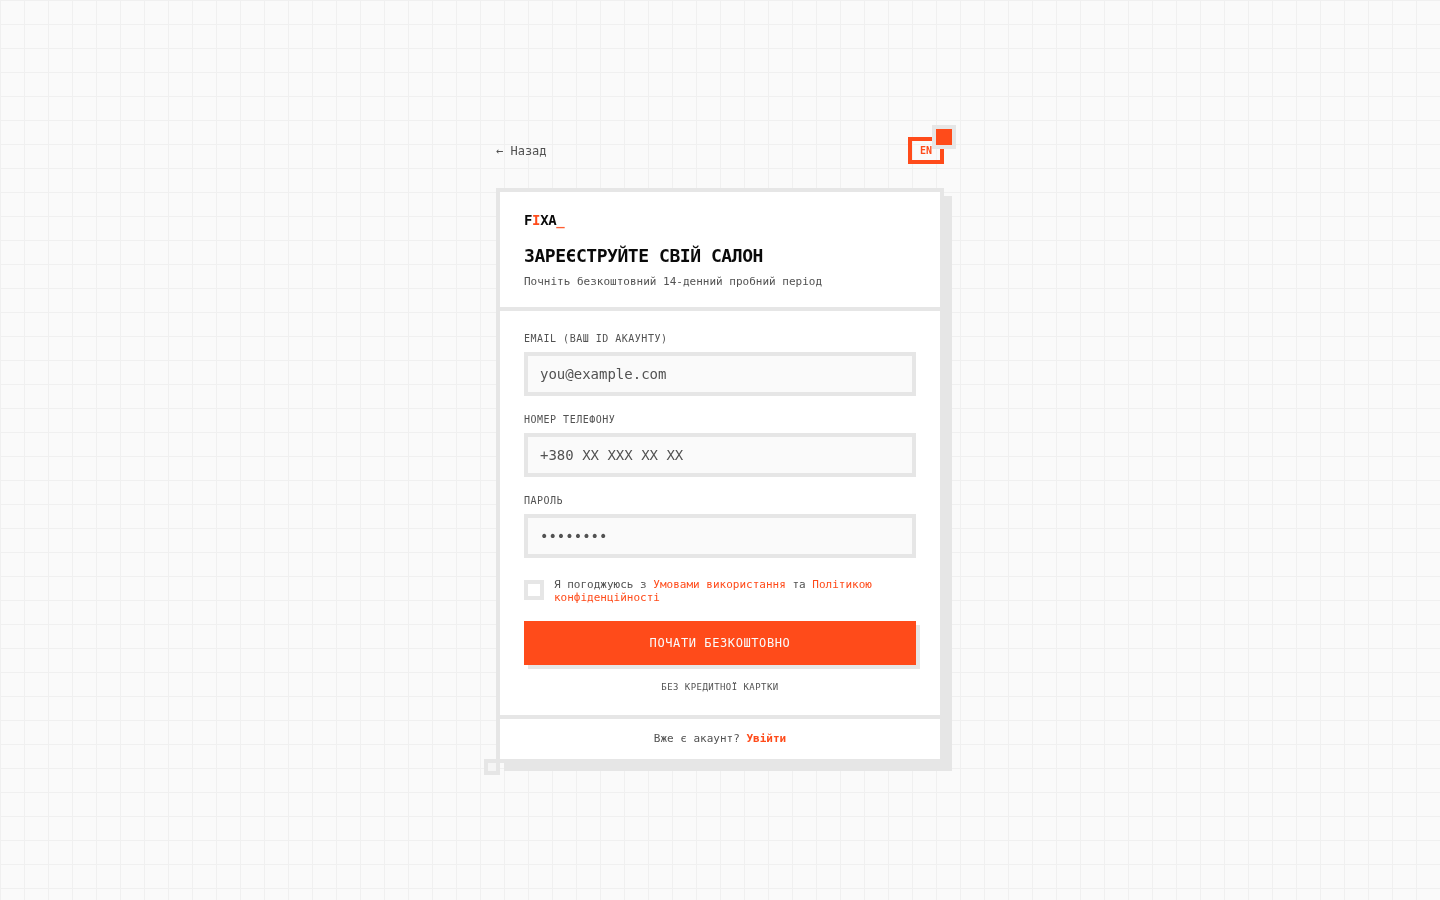
💡 Tip: the trial period is free — no credit card required.
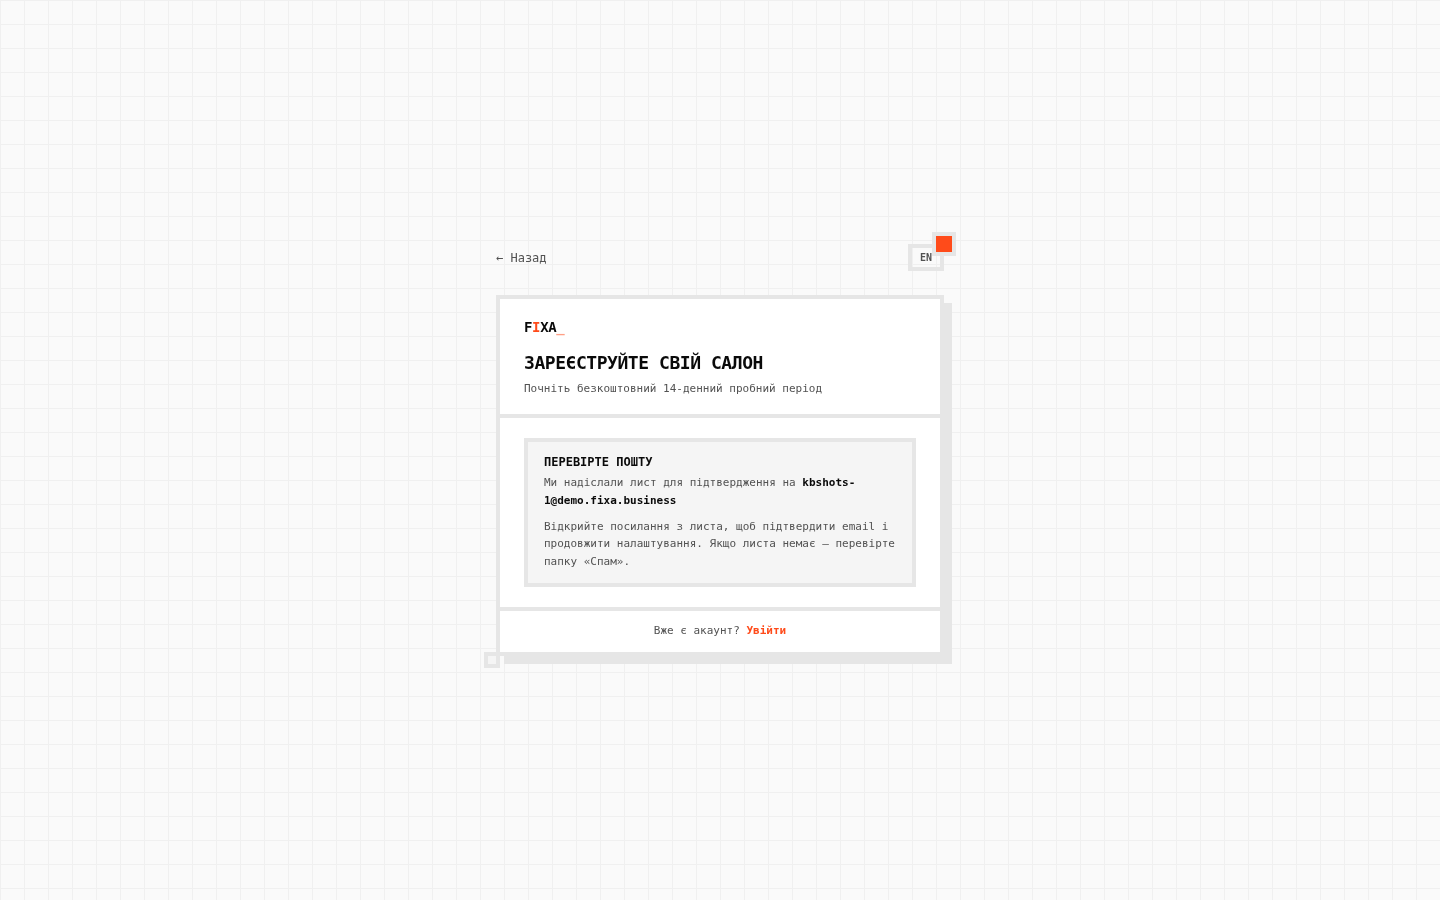
Step 2. Confirm your email
After registration you will see the “Перевірте пошту” (Check your inbox) screen. Open the email “Підтвердіть ваш email — FIXA” from no-reply@fixa.business and follow the link. If there is no email — check the Spam folder.
Step 3. Set up the business
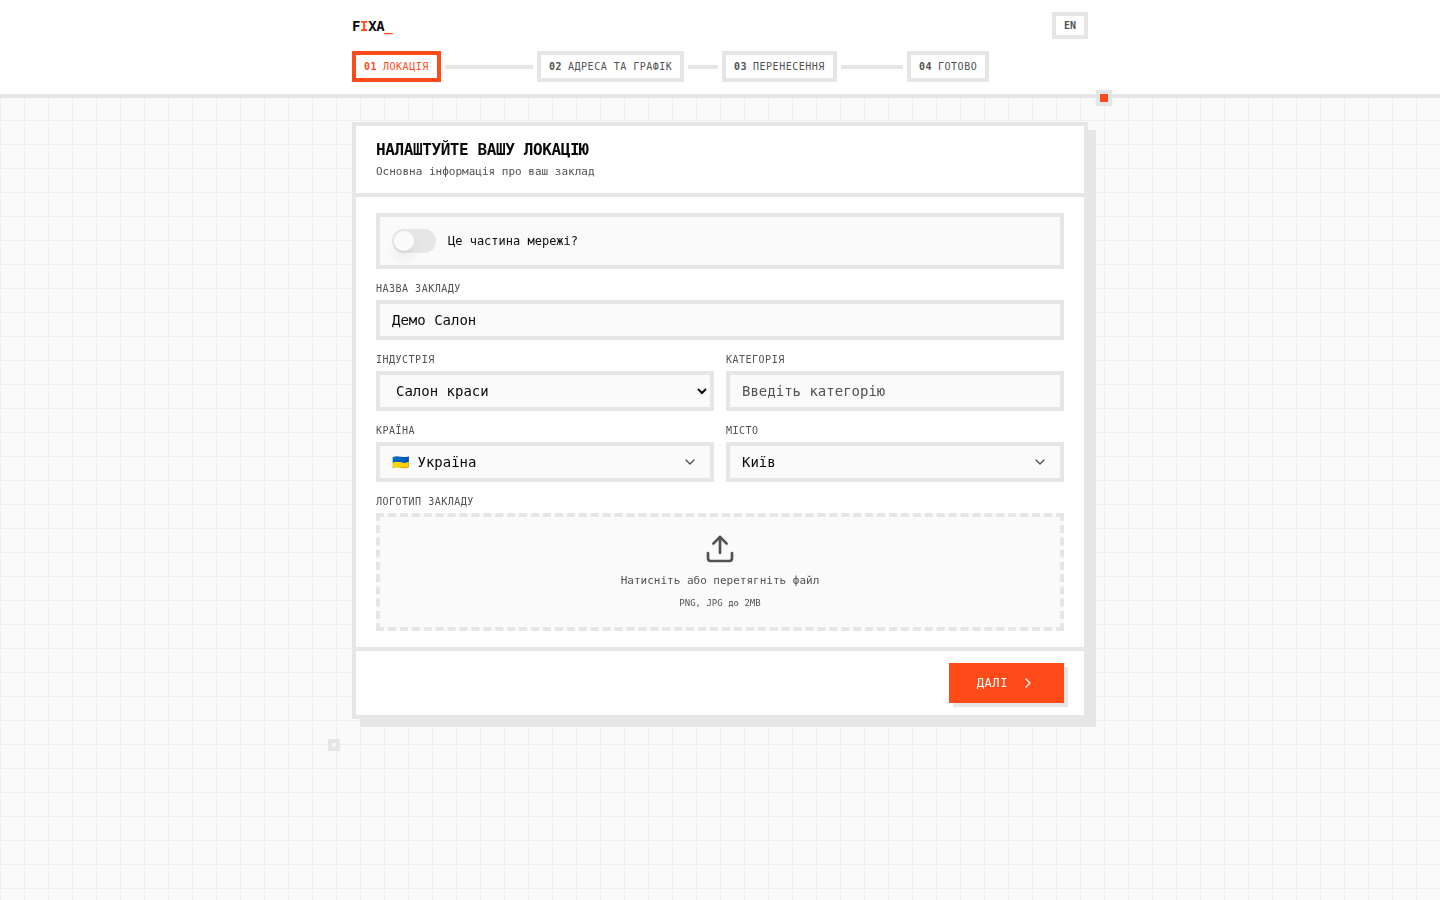
After confirmation you land in a three-step setup wizard:
- “Локація” (Location) — business name, industry (beauty salon, barbershop, nail studio, etc.), country, city and logo.
 2. “Адреса та графік” (Address & schedule) — the address (start typing — the system suggests options), the location phone, website and working hours. Enable “Однаковий графік для всіх днів” (Same schedule for all days) if the hours don't differ by day.
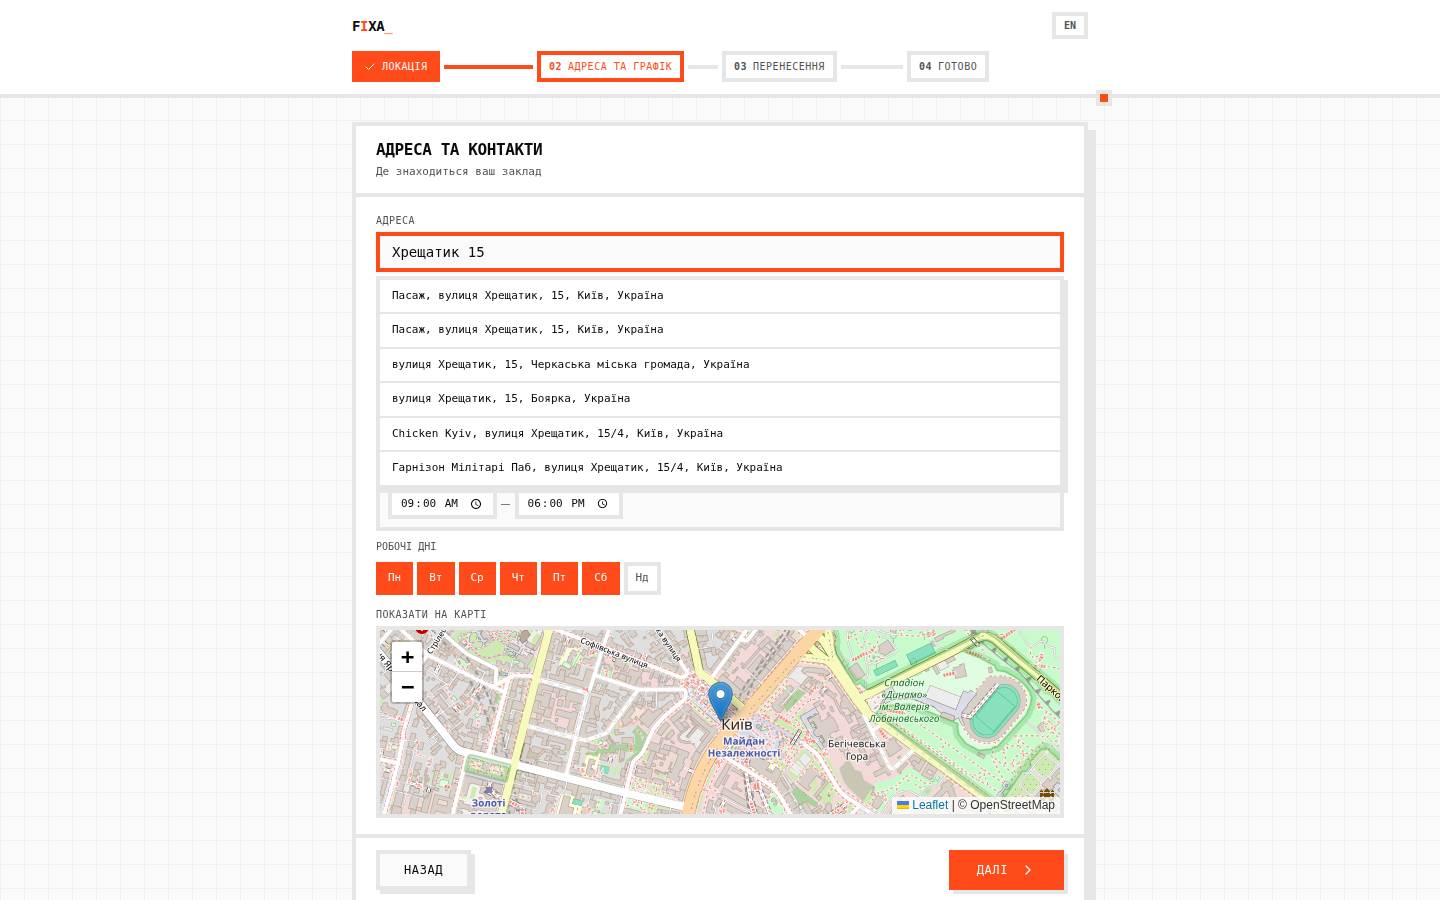 3. “Перенесення” (Transfer) — if you already kept appointments in another system or a notebook, submit a request — a manager will contact you. More: Moving from Altegio and Moving from a paper journal. Nothing to transfer — click “Пропустити” (Skip).
Step 4. Finish the setup
On the final “Вітаємо! 🎉” (Congratulations!) screen the system shows the “Завершіть налаштування” (Finish setup) checklist: price list, team, work schedule, online booking, cash register. Click “Перейти до панелі” (Go to the panel) — and follow the quick start list.